Airtable is a powerful database and spreadsheet software that many businesses rely on to keep track of their data, and paired with the ever-popular Google Sheets, you can turn into a spreadsheet powerhouse.
While Airtable offers a more visual and customizable approach, Google Sheets is a more traditional spreadsheet program. The magic happens when the two are paired together. Both have their own unique features and benefits, but what if you need to export data from Airtable to Google Sheets? In this article, we’ll explore how to export Airtable to Google Sheets and why it can be a useful tool for your workflow.
There are several ways you can quickly and easily export and import data from Airtable into Google Sheets automatically. We'll discuss how to do it manually, or how to use IFTTT to integrate Airtable and Google Sheets in only a few minutes.
Here are the 3 methods we'll cover for exporting Airtable to Google Sheets:
Automated:
- Connect Airtable & Google Sheets with IFTTT [5 minutes]
Non-Automated:
Use the Airtable & Google Sheets Add-On [15 minutes]
Export Airtable to a CSV & Import to Google Sheets [30+ minutes]
Without further ado, lets dive into the first and quickest method, using IFTTT to automate the two spreadsheet softwares.
Connect Airtable & Google Sheets with IFTTT [5 minutes]
If you're looking for the fastest and easiest way to export your Airtable records into Google Sheets, look no further than connecting Airtable & Google Sheets with IFTTT. This method is automated, so it will save you time while keeping your data up-to-date and in sync.
Here at IFTTT, we believe in finding the right solution for you no matter which method you choose, which is why we will cover all possible methods. However, using IFTTT is extremely easy compared to using the Airtable API. Plus, it only takes about 5 minutes to set up! Let's explore how this works.
Method 1: How to export Airtable to Google Sheets with IFTTT
Sign up for an IFTTT account. You can do this here, or you can download the app for free from the App Store or Google Play. You get up to 2 Applets for free, so sign up today!
Log in to your IFTTT account and click ‘My Applets’ at the top of the screen.
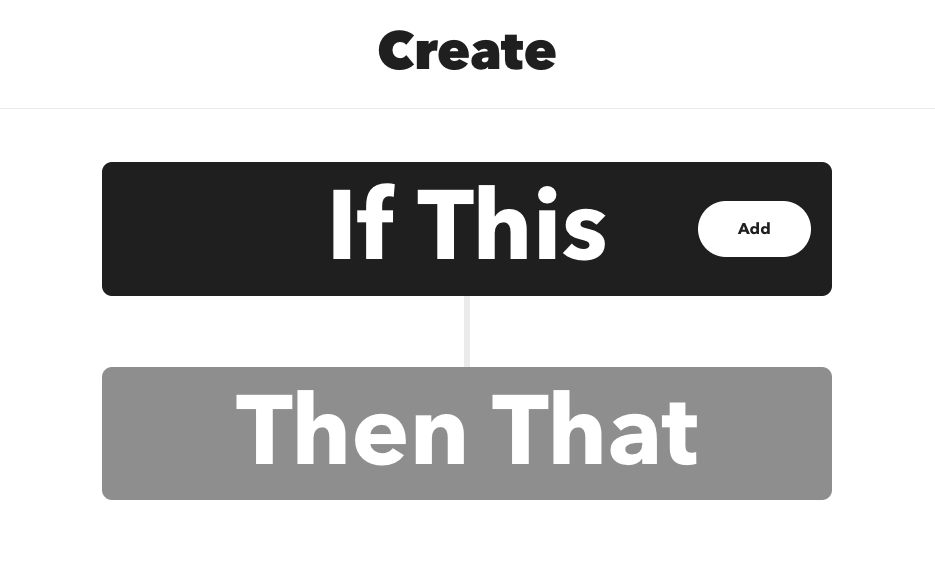
Click on the "If This" 'Add' button to start building your Applet.
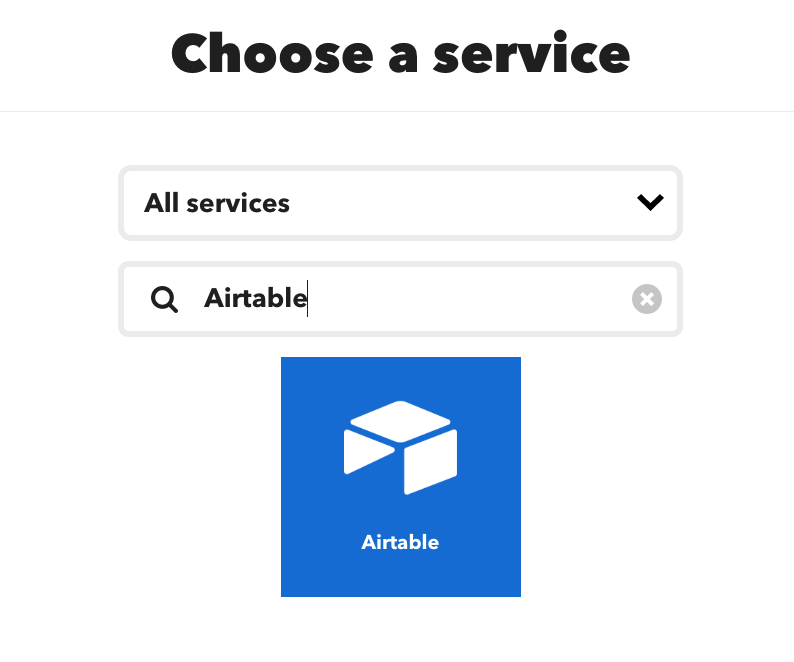
- A search bar will appear at the top of the screen – type in ‘Airtable’ and select it when it appears in the results list below.
Select ‘A new record is created’ and click on it to create your trigger condition.
You will then be asked to provide some additional information about what kind of Airtable data you would like to track – select your specific base, table, view, etc., and once you have done so click ‘Create Trigger’ at the bottom of the page.
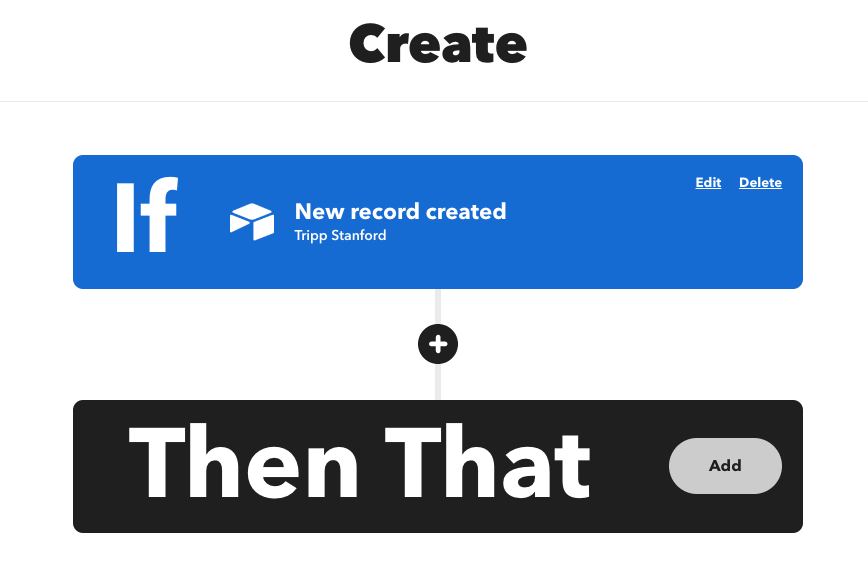
Now that you have set up your trigger condition, you need to set up your action condition – click 'Then That’ at the bottom of the screen and type in ‘Google Sheets’ into the search bar which appears again at the top of the page, selecting it when it appears in the results list below.
- Select either 'Add new row to Spreadsheet' or 'Update cell in spreadsheet' depending on how you want your data from Airtable transferred over into Google Sheets.
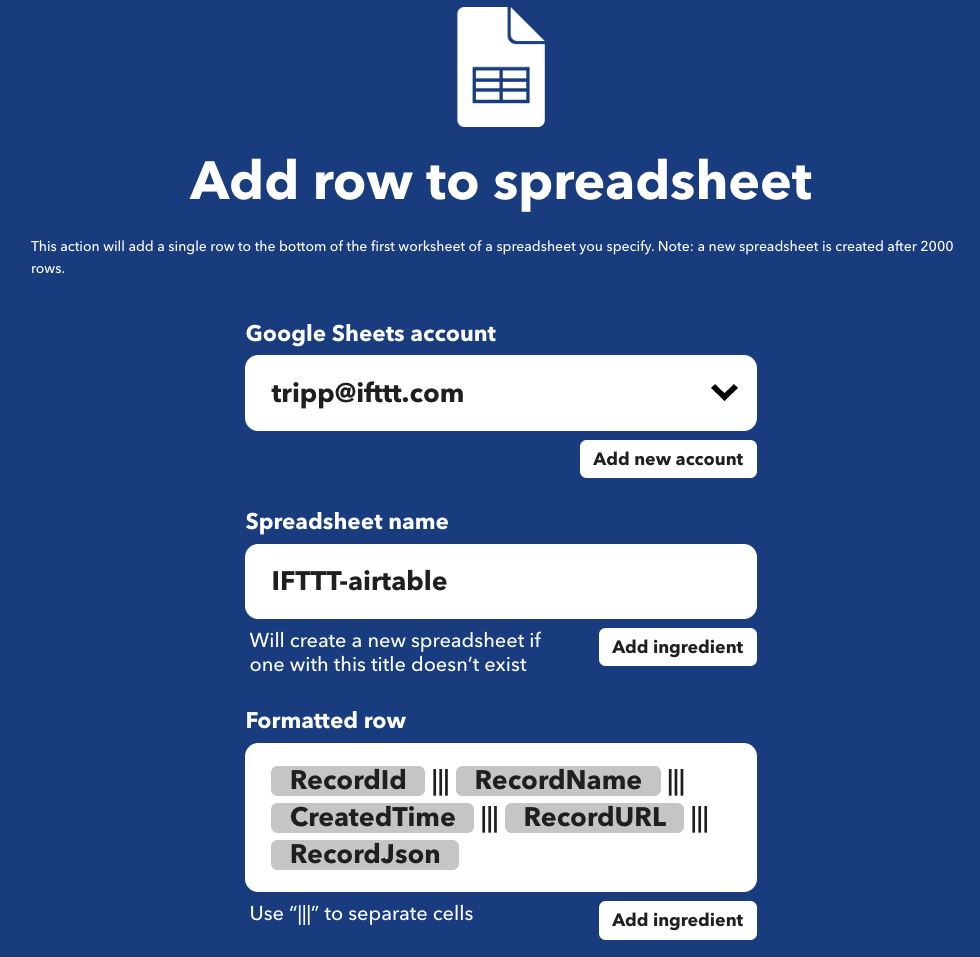
- On this final page review all of your settings for this automation before clicking finish - once clicked IFTTT will now automatically transfer data from Airtable into Google Sheets whenever a new record is created or an existing one is changed! You can also tweak these settings further (such as setting different triggers/actions) by clicking "Edit" next to each step on this page.
Explore what you can do when you connect Airtable to Sheets
With IFTTT, you can connect Airtable to over 800 other digital services, meaning the possibilities are almost endless. If you don't want to build your own Applet, you can also browse our library of millions of user-made Applets. That's the beauty of IFTTT; we can guarantee you will find an Airtable to Google Sheets solution to save you time and money.
For additional information, check out our Airtable & Google Sheets overview page here. This page will show you all of the ways you can trigger and automate your Airtable and Google Sheets databases.
Read on to hear our top picks for Airtable and Google Sheets automations with IFTTT.
Top Google Sheets and Airtable Automations with IFTTT

Automatically log new Airtable records to a spreadsheet
This Applet will help you keep things in sync: When you add a new record to Airtable, the ID, Name, URL, Json, and a timestamp will be added to a Drive spreadsheet.
Automatically create new Airtable records for new Google My Business reviews
Effortlessly keep an eye on all of your customer feedback so that you can identify trends and improve your business. When new reviews are submitted for your business in Google My Business, this Applet will add its contents to a new Airtable record.
Log how much time you spend at specific locations like the office or home in a Google spreadsheet
Set the map on an area that you want to track and this Applet will add a row of info to a Google Drive spreadsheet each time you arrive at or leave the area.
Save all of your liked videos in a spreadsheet
Keep a running list of all YouTube videos you've liked! Includes the date & time you liked the video.
Method 2. Use the Airtable & Google Sheets Add-On [15 minutes]
There is a Google Add-On that allows you to sync Airtable and Google Sheets. It isn't completely automated and takes a little time to set up. It's a good option if you like to take a slower, more manual approach to connect Airtable and Google Sheets. It is less complicated than using the Airtable API individually.
How to export Airtable to Sheets with a Google Sheets Add-On
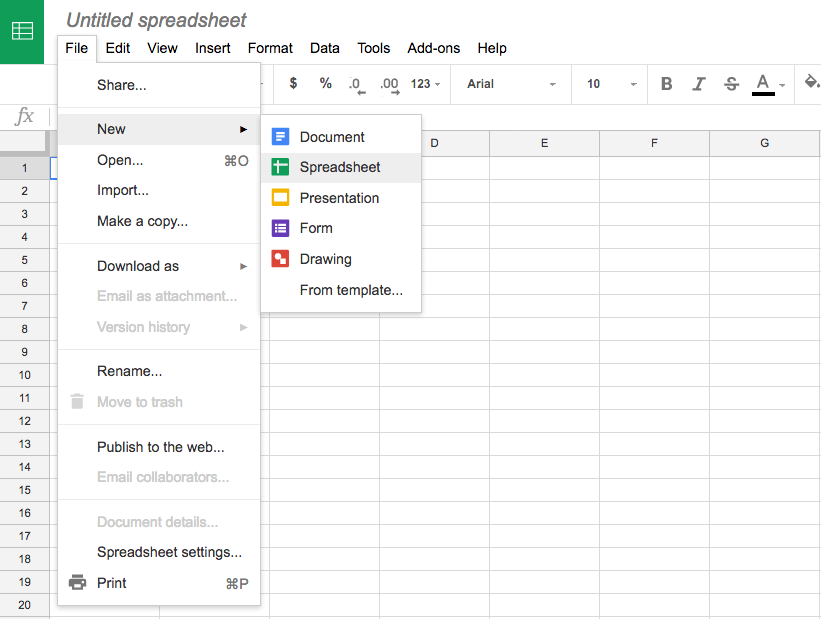
First, you will need to download the Airtable add-on for Google Sheets. You can find it in the Google Workspace Marketplace here.
After downloading the add-on, open up your browser and go to your Google Sheets file that is connected with Airtable.
Click on ‘Add-ons’ in the top menu bar and select ‘Airtable’ from the list of installed apps and click ‘Launch’.
You will now be redirected to a page where you can configure the settings of your integration between Airtable and Google Sheets – here choose what type of records you wish to export (i.e., all records or only those that have been modified since a specific date).
Next, determine if you would like this integration to run manually every time or set it up as an automated daily schedule so that new data is automatically exported each day without having to manually trigger it each time (recommended).
Finally, click ‘Save & Run’ at the bottom of this page – once clicked your data will start transferring from Airtable into your chosen sheet in Google Sheets! Depending on how much data you are exporting this process may take a few minutes but once completed you should see all of your desired records appear in Google Sheets (as long as they meet any criteria specified earlier).
Once completed, make sure that everything looks correct by double-checking both sheets - if everything looks good then you are done! Your data is now successfully synced between Airtable and Google Sheets so any changes made in one place will automatically be updated in the other too!
Method 3: Export Airtable manually to a CSV & import to Google Sheets [30+ minutes]

The last option you have is manually exporting a database to a CSV and importing it into Airtable or Google Sheets. This takes a while and is a manual process to import data or export data. It is a good option if you don't need an automated connection and are importing the data on an ad-hoc basis.
Exporting data from Airtable to Google Sheets manually is a good option if you don't need a more automated connection and are only importing the data once in a while. Here's a step-by-step guide of the process:
First, open up Airtable and navigate to the table that contains the records you want to export.
Click on the “Export” button in the top-right corner and select “CSV” as your file type.
You will then be prompted to enter a name for your CSV file - make sure it is descriptive and appropriate so that you can easily identify it later!
Once finished, click “Export” again and wait until it has been created successfully - this may take a few minutes depending on how large your table is.
Now open up Google Sheets, click on the File menu, select “Import”, and then choose “Upload” under Select File Type.
Navigate to where you saved your CSV file earlier and select it here - once selected click “Open” in the bottom right-hand corner of this window.
You will now be taken to a page where you will be able to configure how this spreadsheet should be imported - here you can set things such as which columns should be imported (or ignored), how headers should be handled, etc.. Once all settings have been configured click “Import Data” at the bottom of this page.
Finally, wait until the import has completed successfully before double-checking that all desired data has been transferred over correctly - if everything looks good then you are done! Your data from Airtable has now been successfully transferred over into Google Sheets!
This step could be done vice versa if you want to export from Google Sheets and import that data into Airtable.
Conclusion
IFTTT provides a seamless and efficient way to connect Airtable to Google Sheets, allowing for automated data transfer in just a few minutes. By setting up triggers and actions within IFTTT, you can ensure that your records are always up-to-date and synchronized between the two platforms. This method not only saves time but also simplifies the process, making it accessible to users with varying levels of technical expertise.
Whether you're a beginner or an experienced user, using IFTTT to export Airtable to Google Sheets is a convenient solution that streamlines your workflow. So what are you waiting for, try IFTTT today for completely free!


